

BUY TWO GLITTERS GET ONE FREE!
EDIBLE GLITTER + GLIMMER!
New + Trending
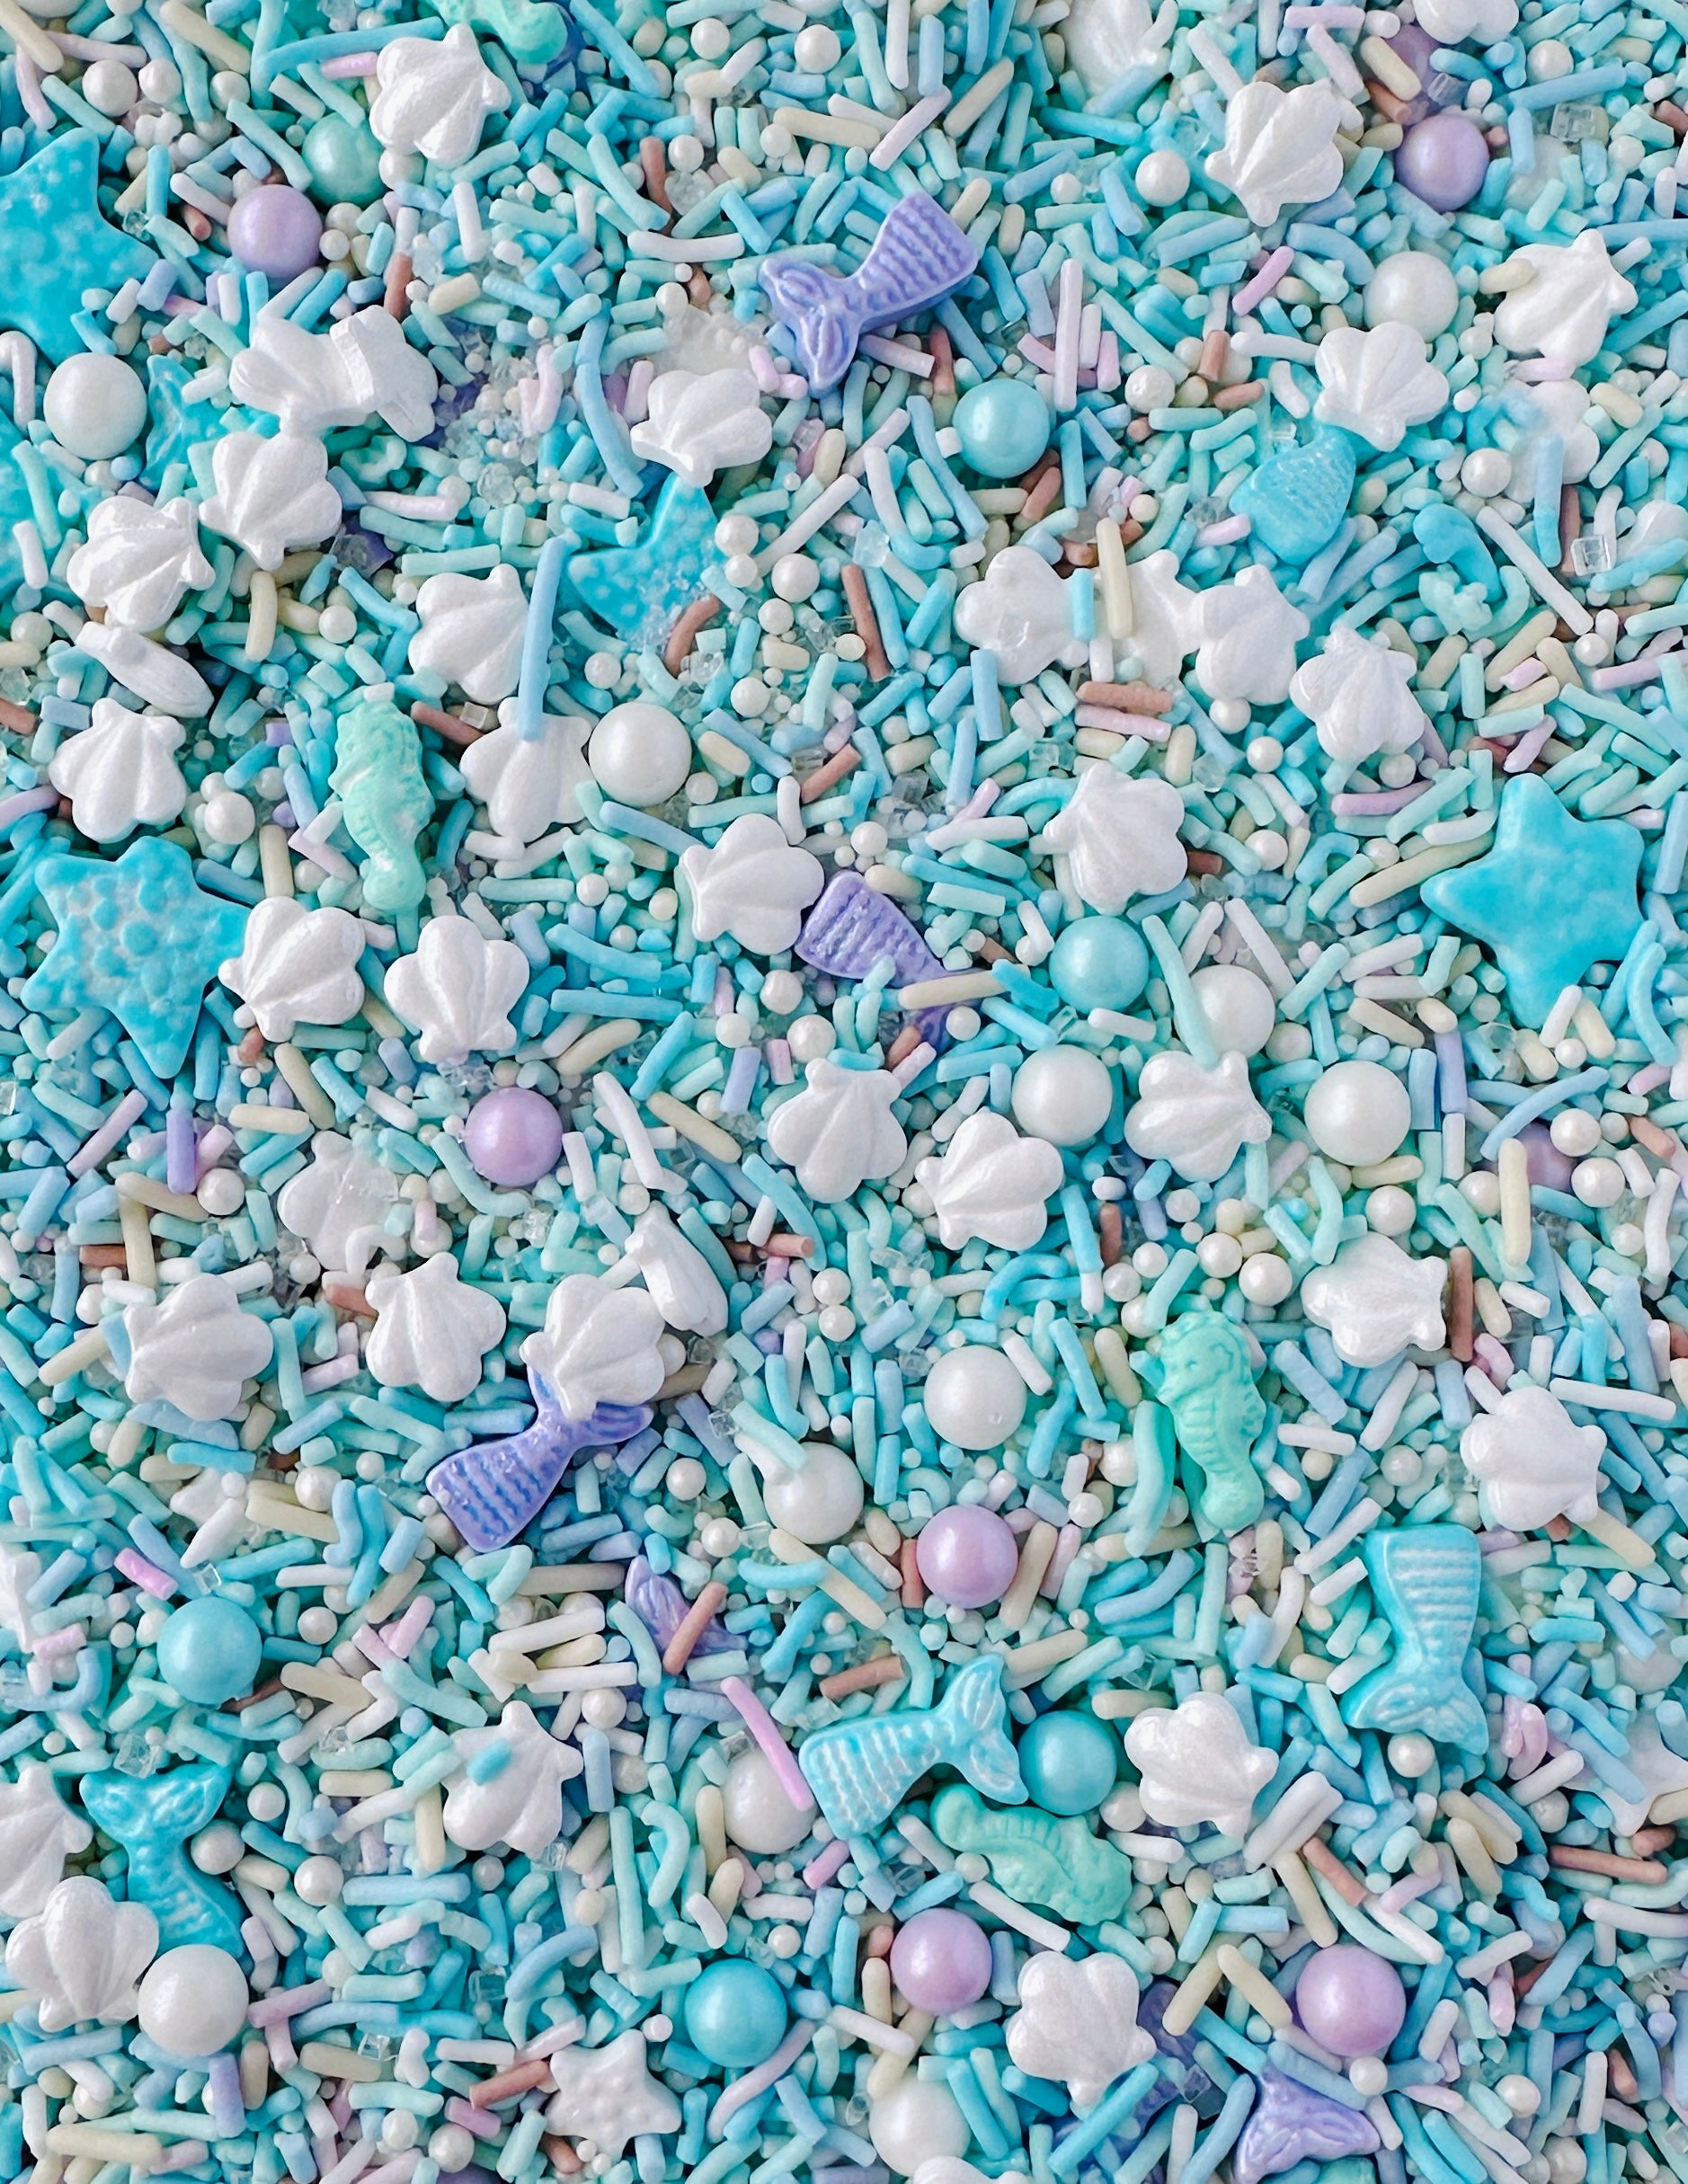
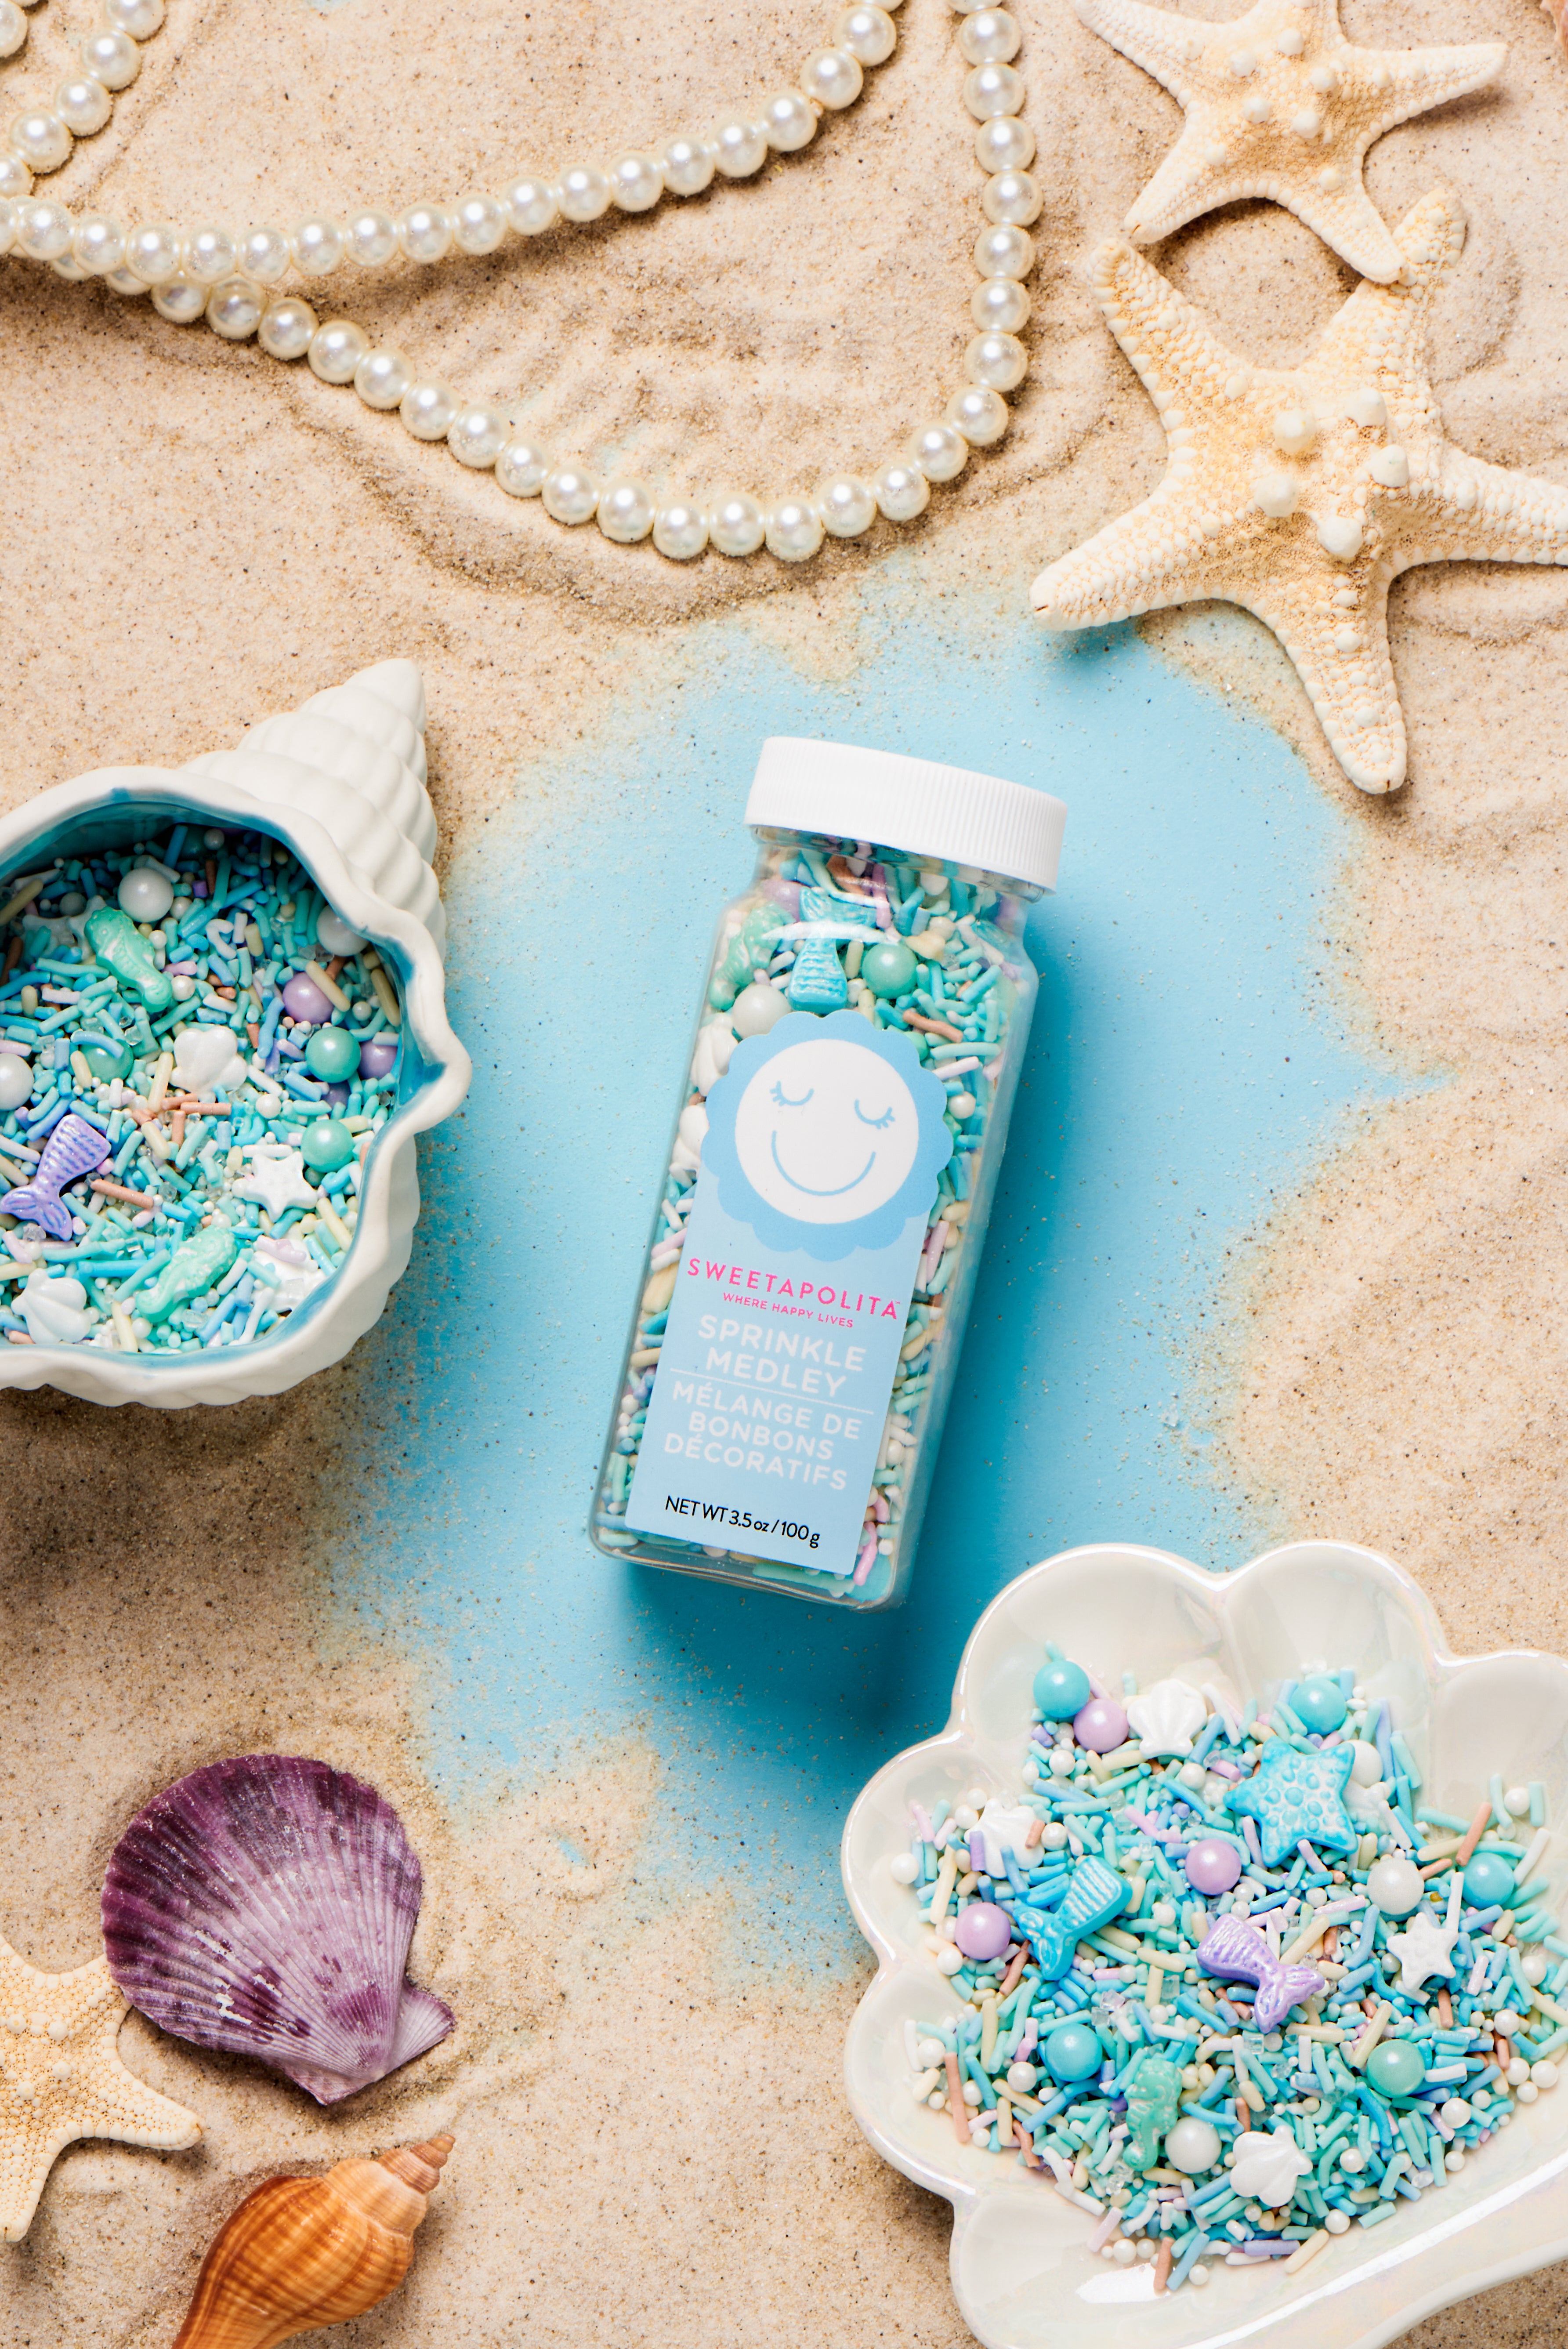

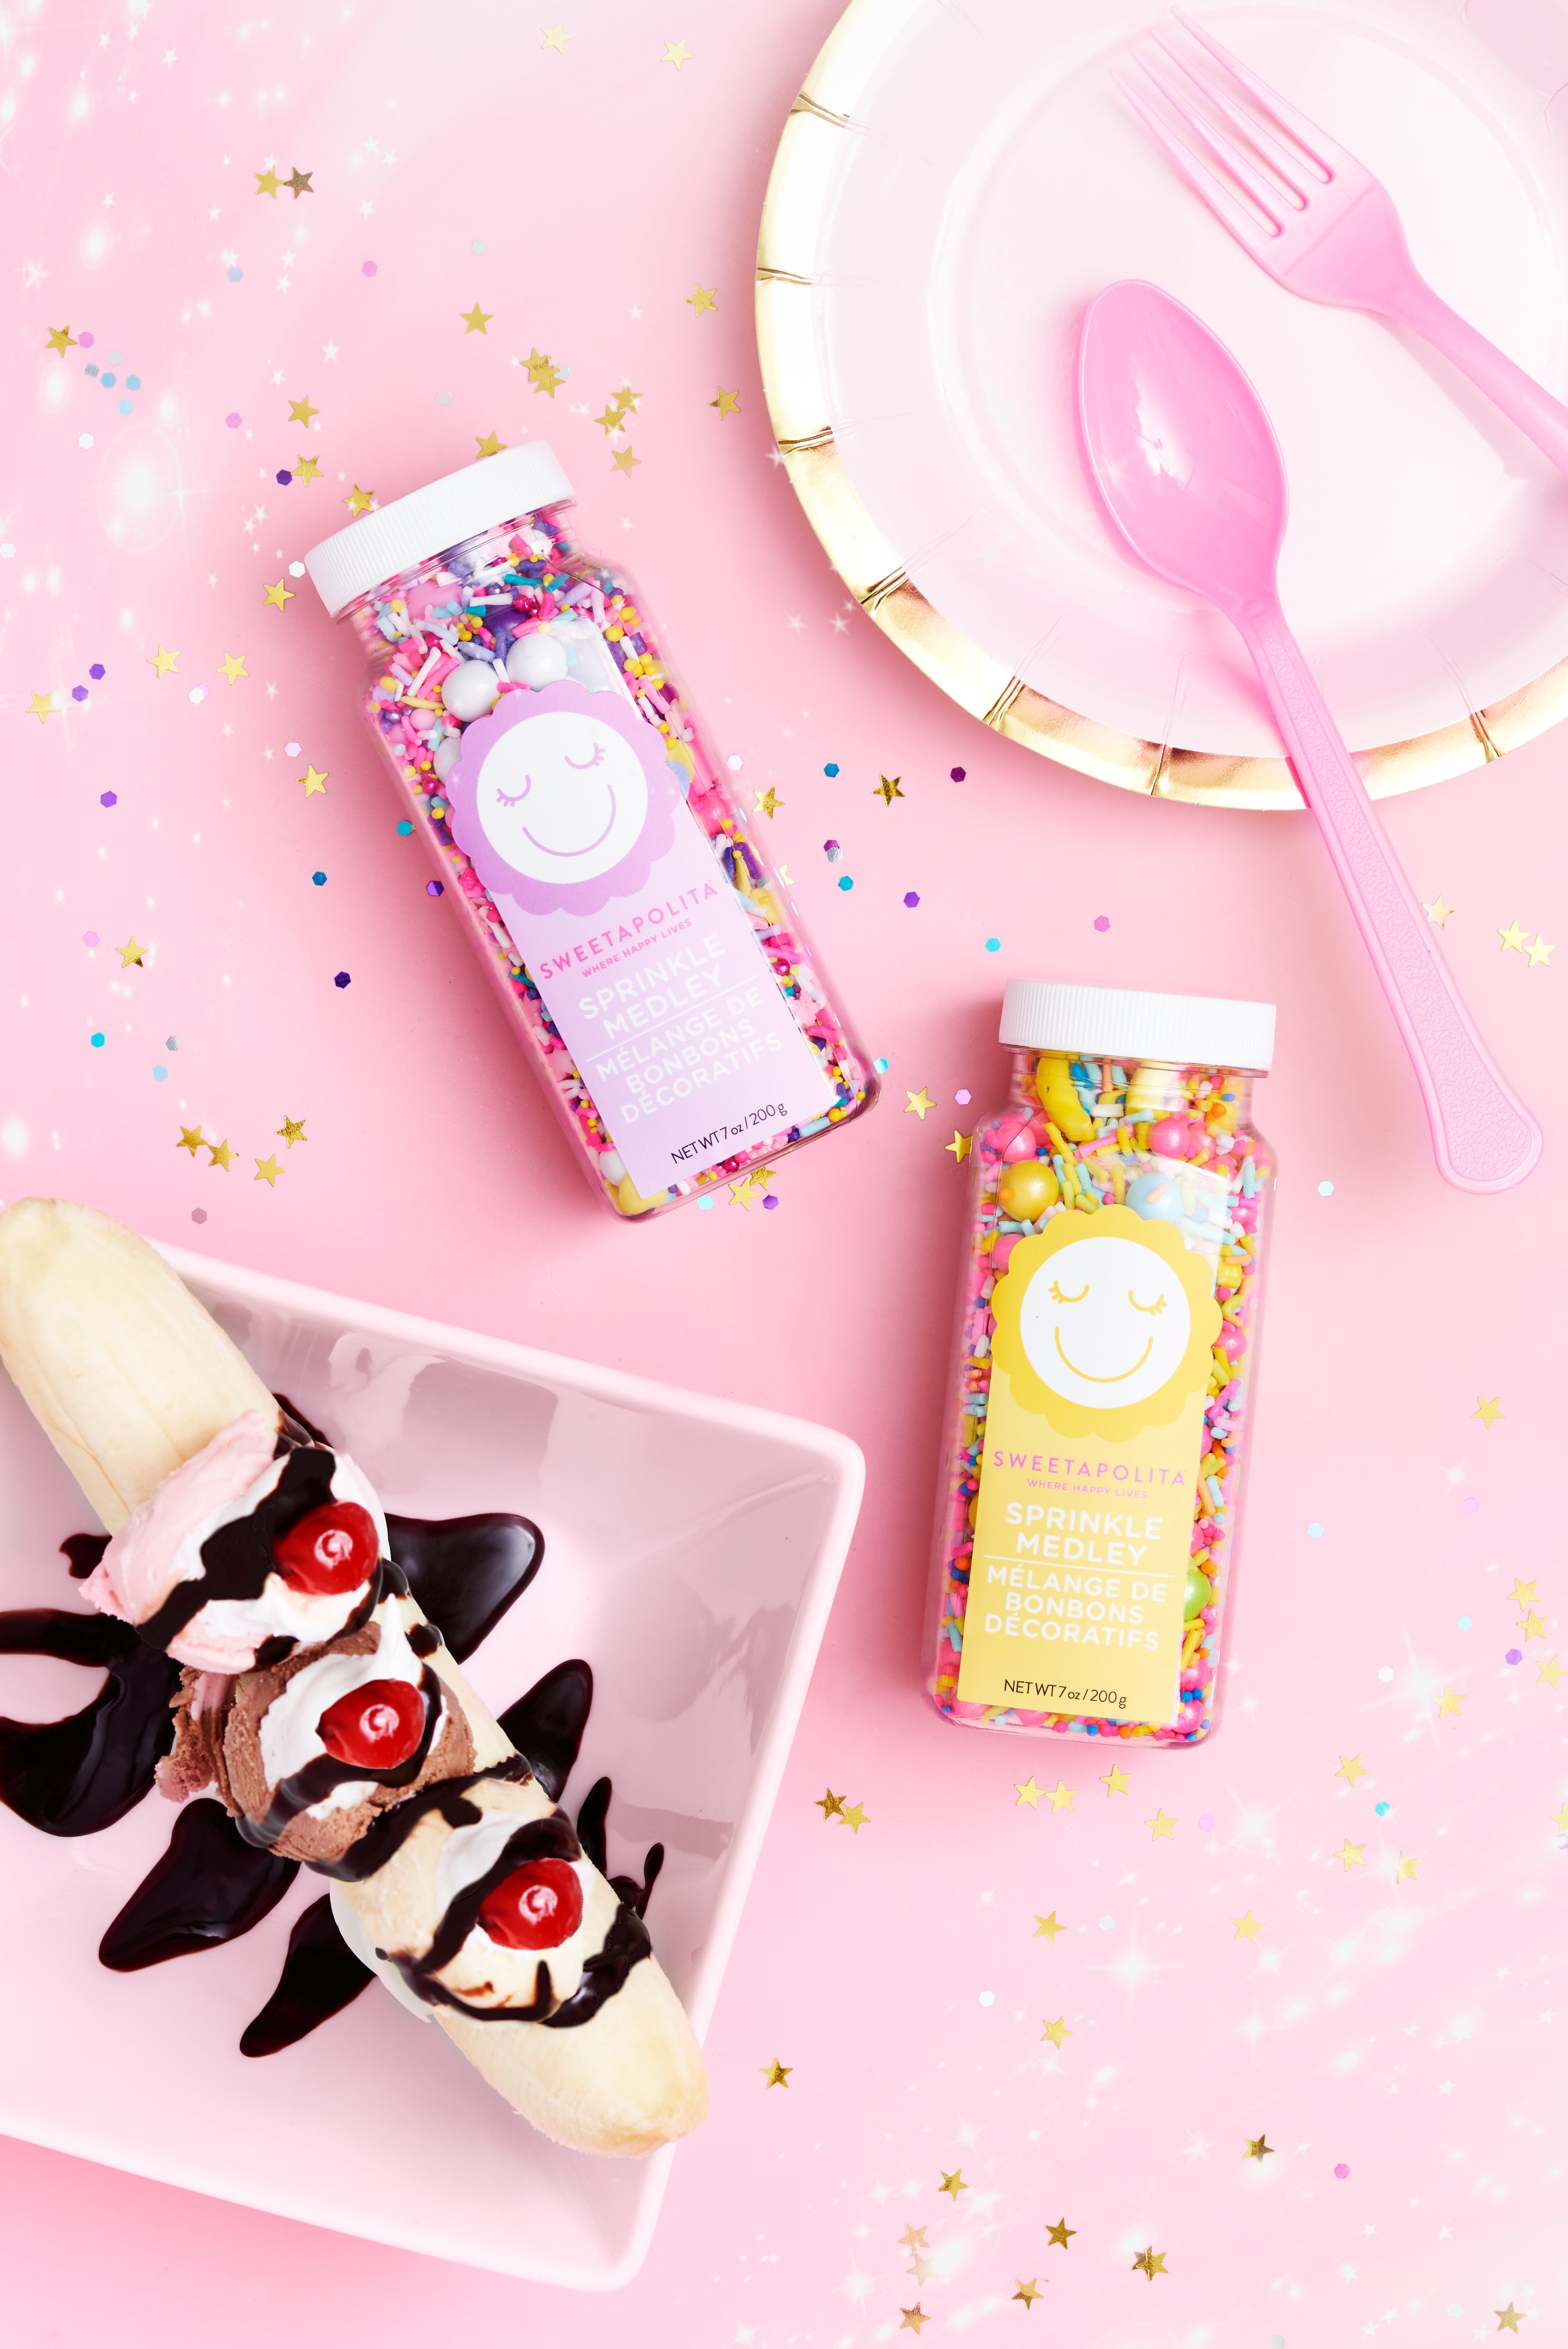


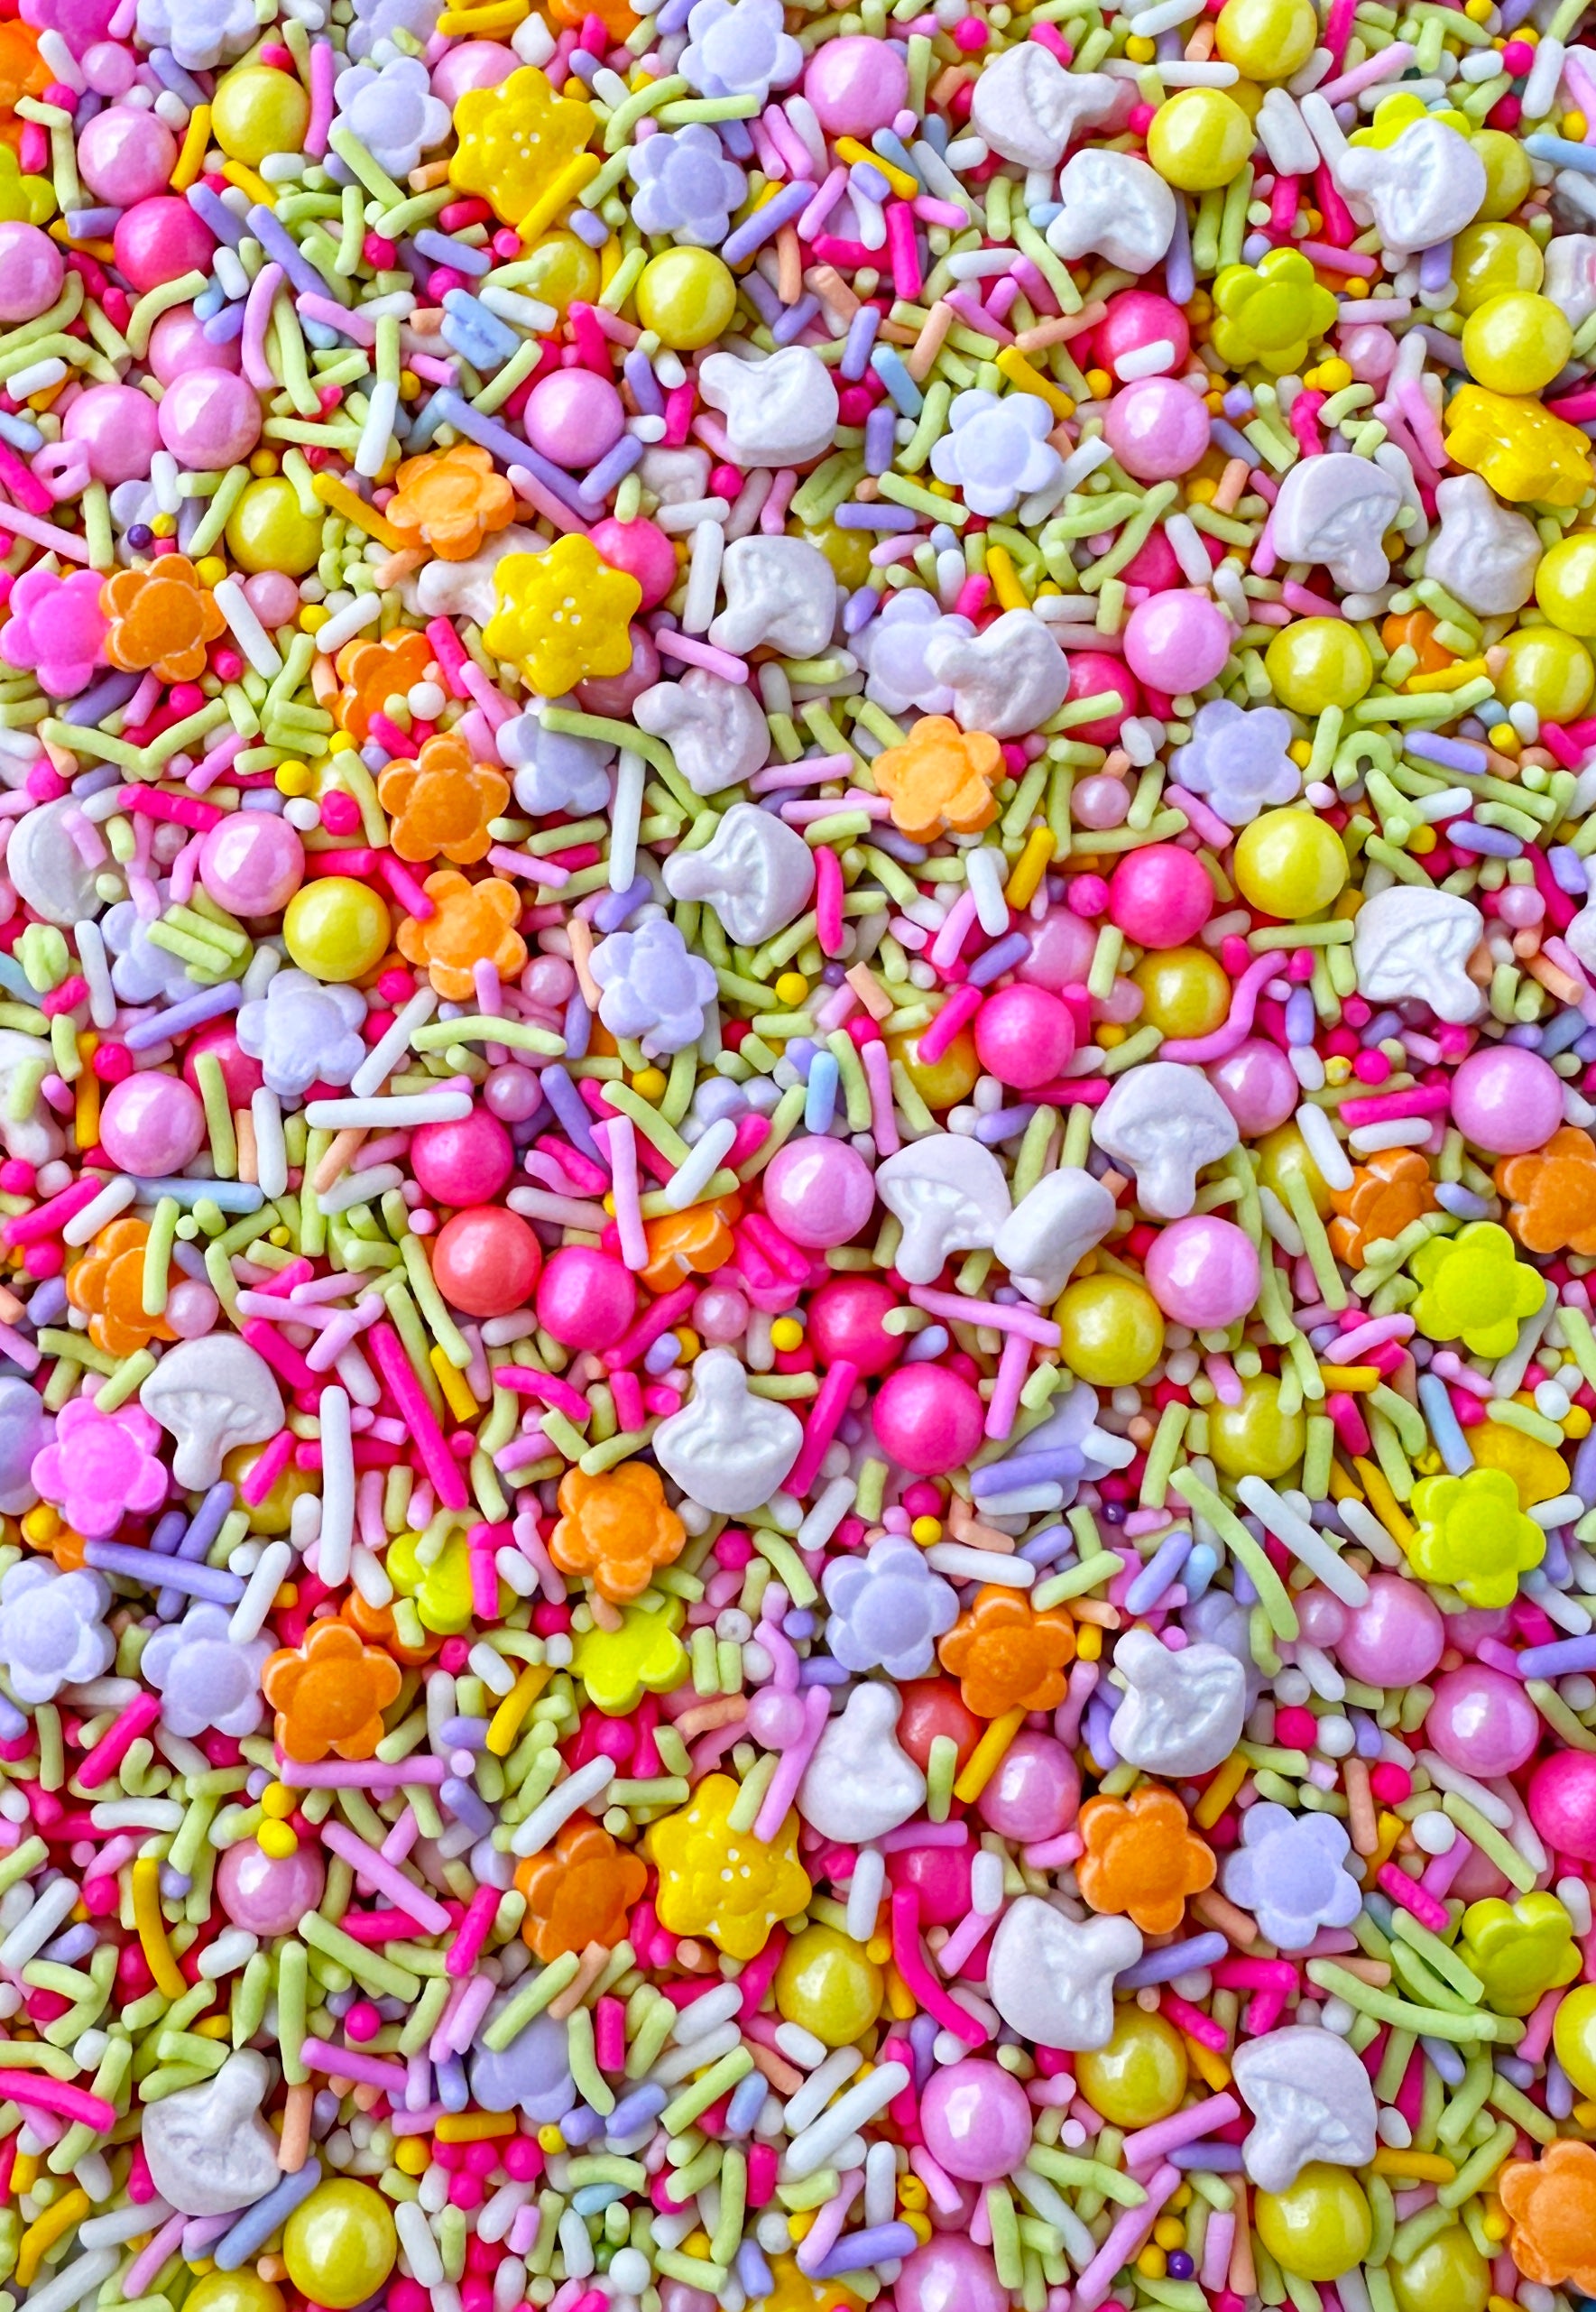


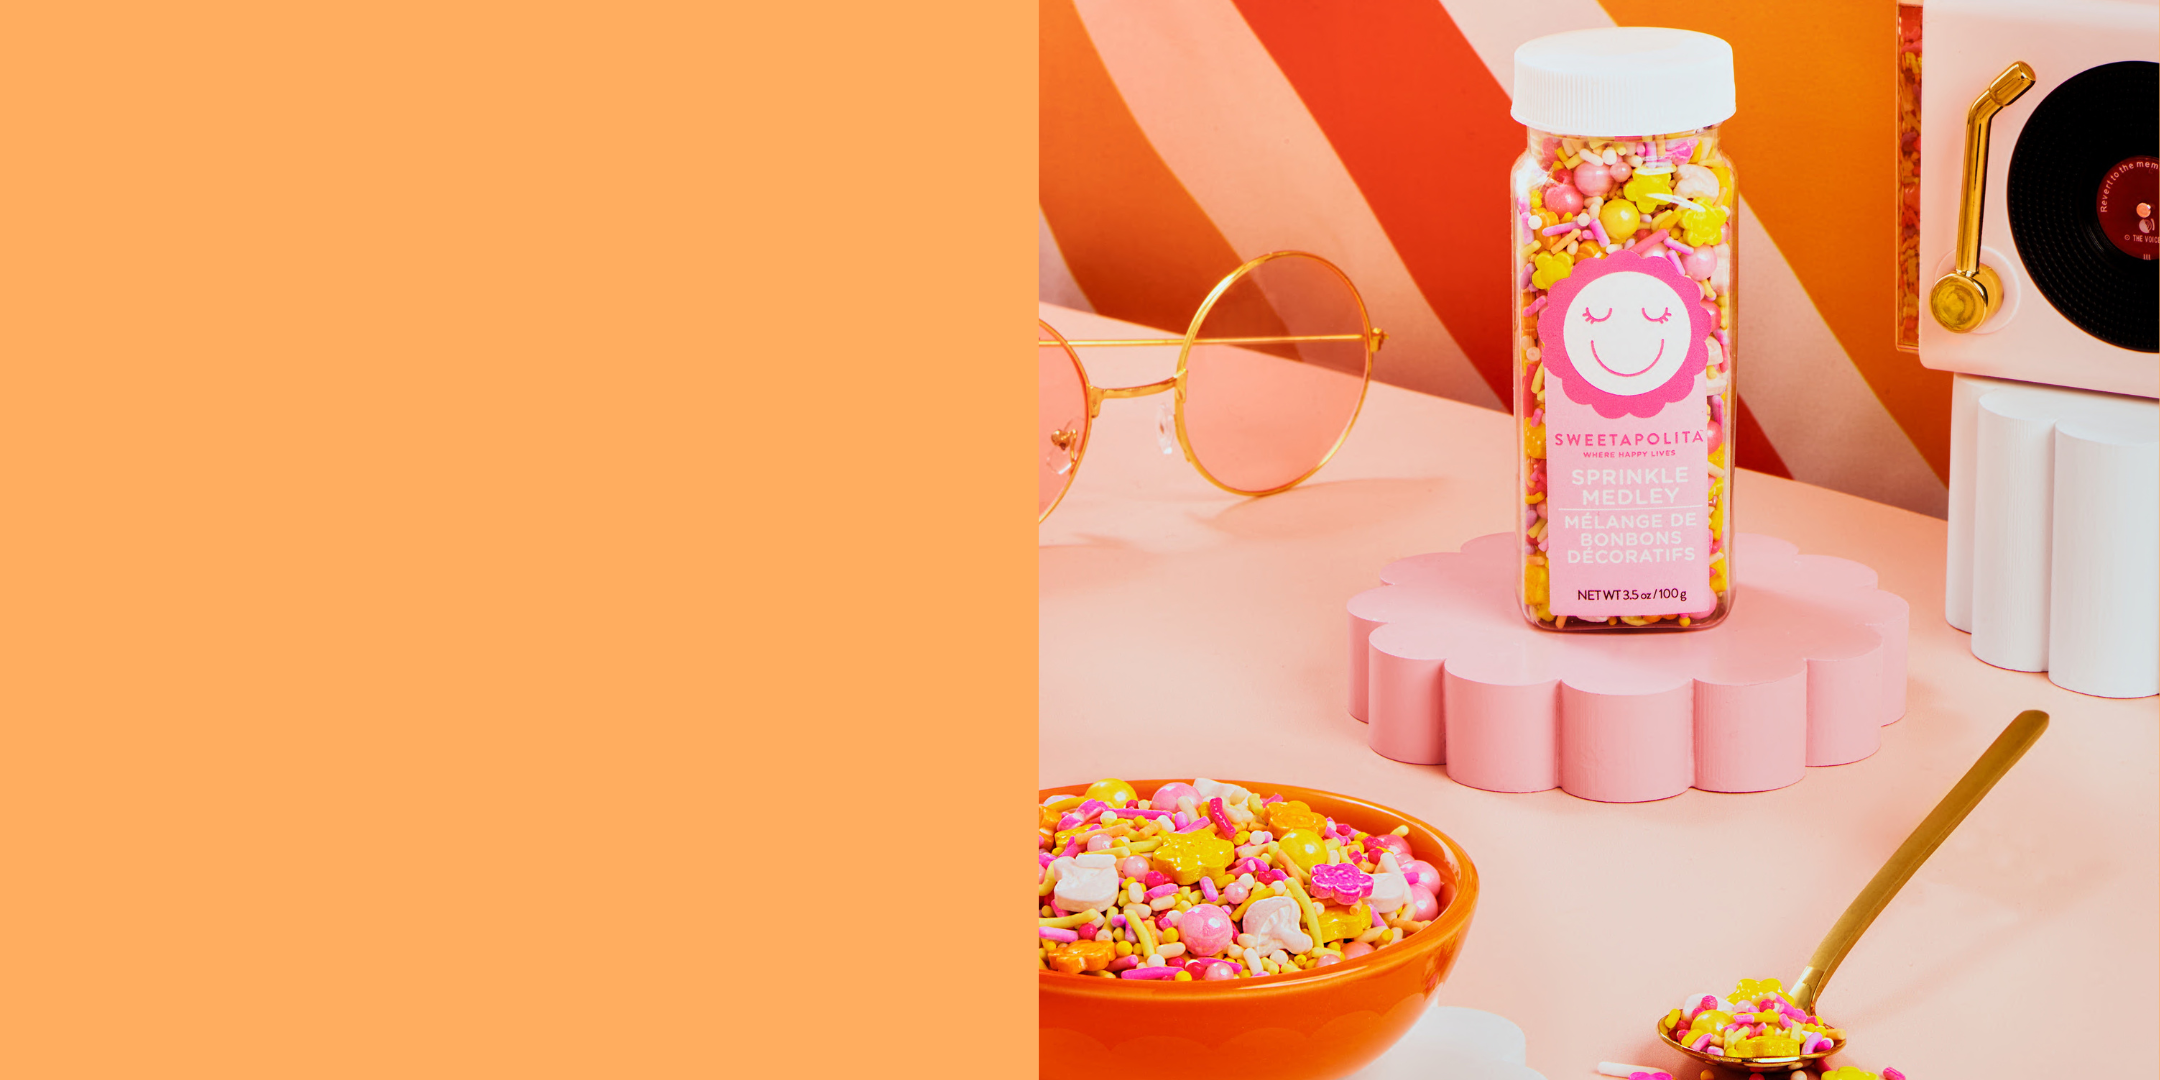
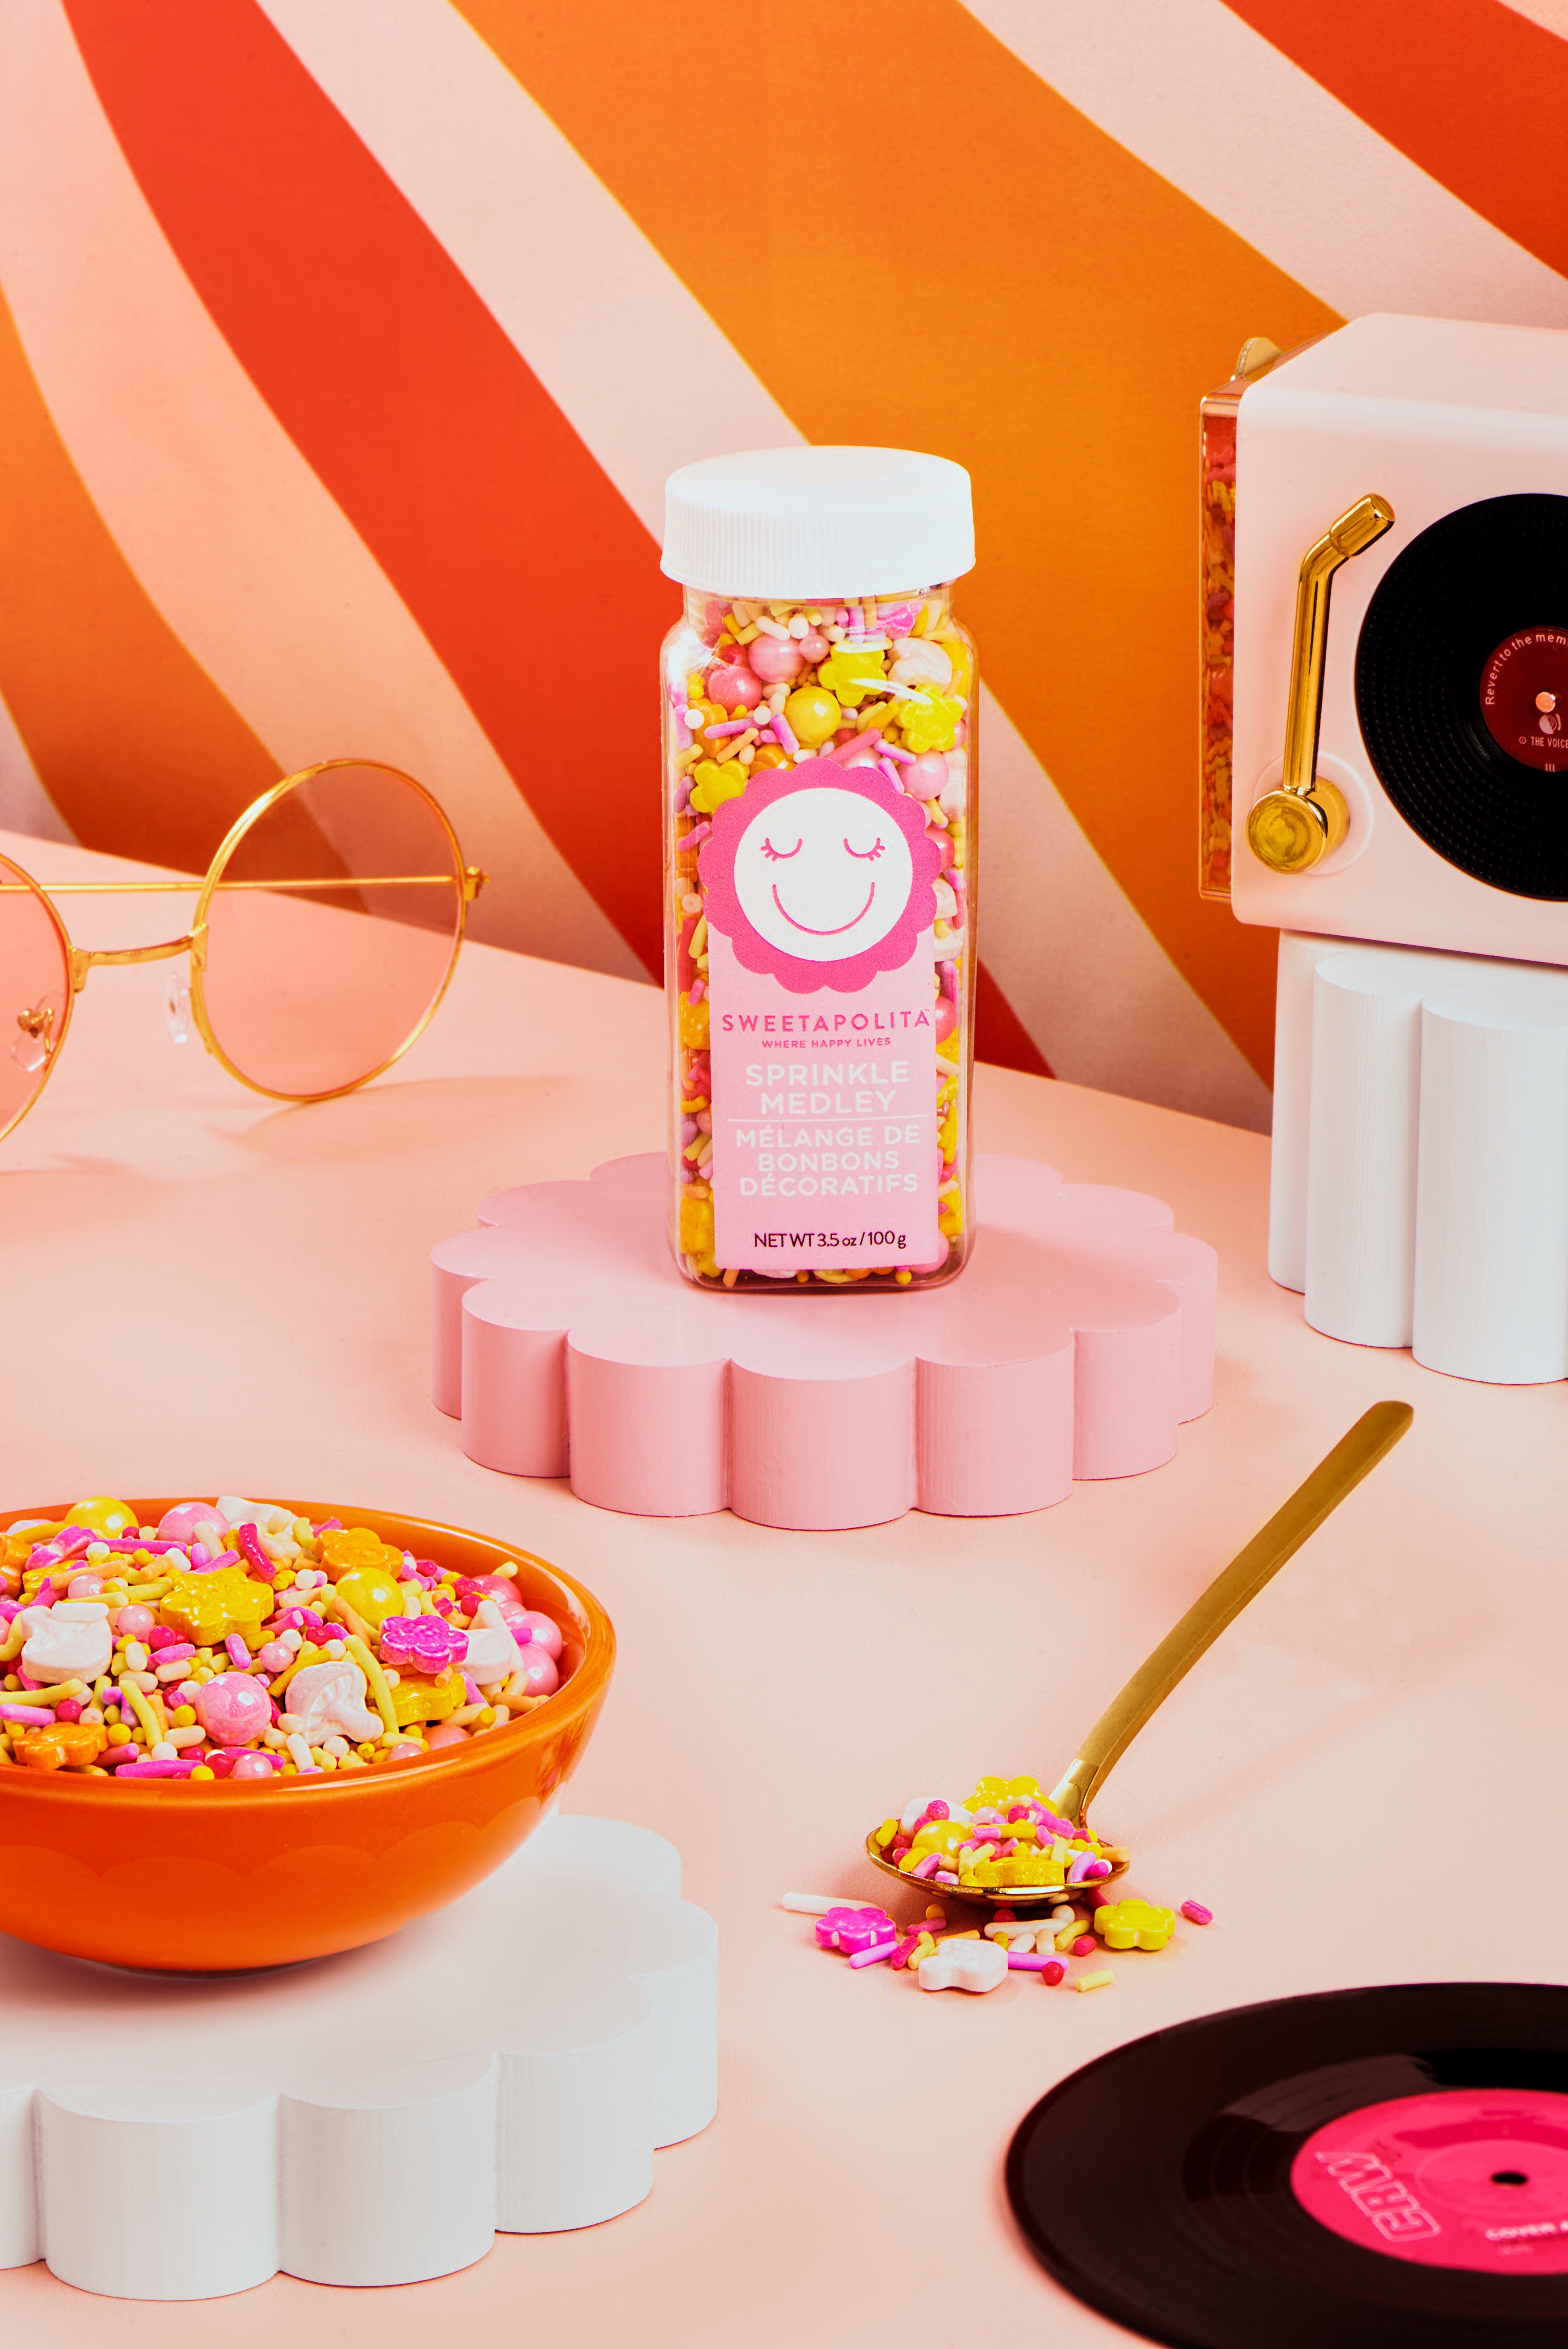
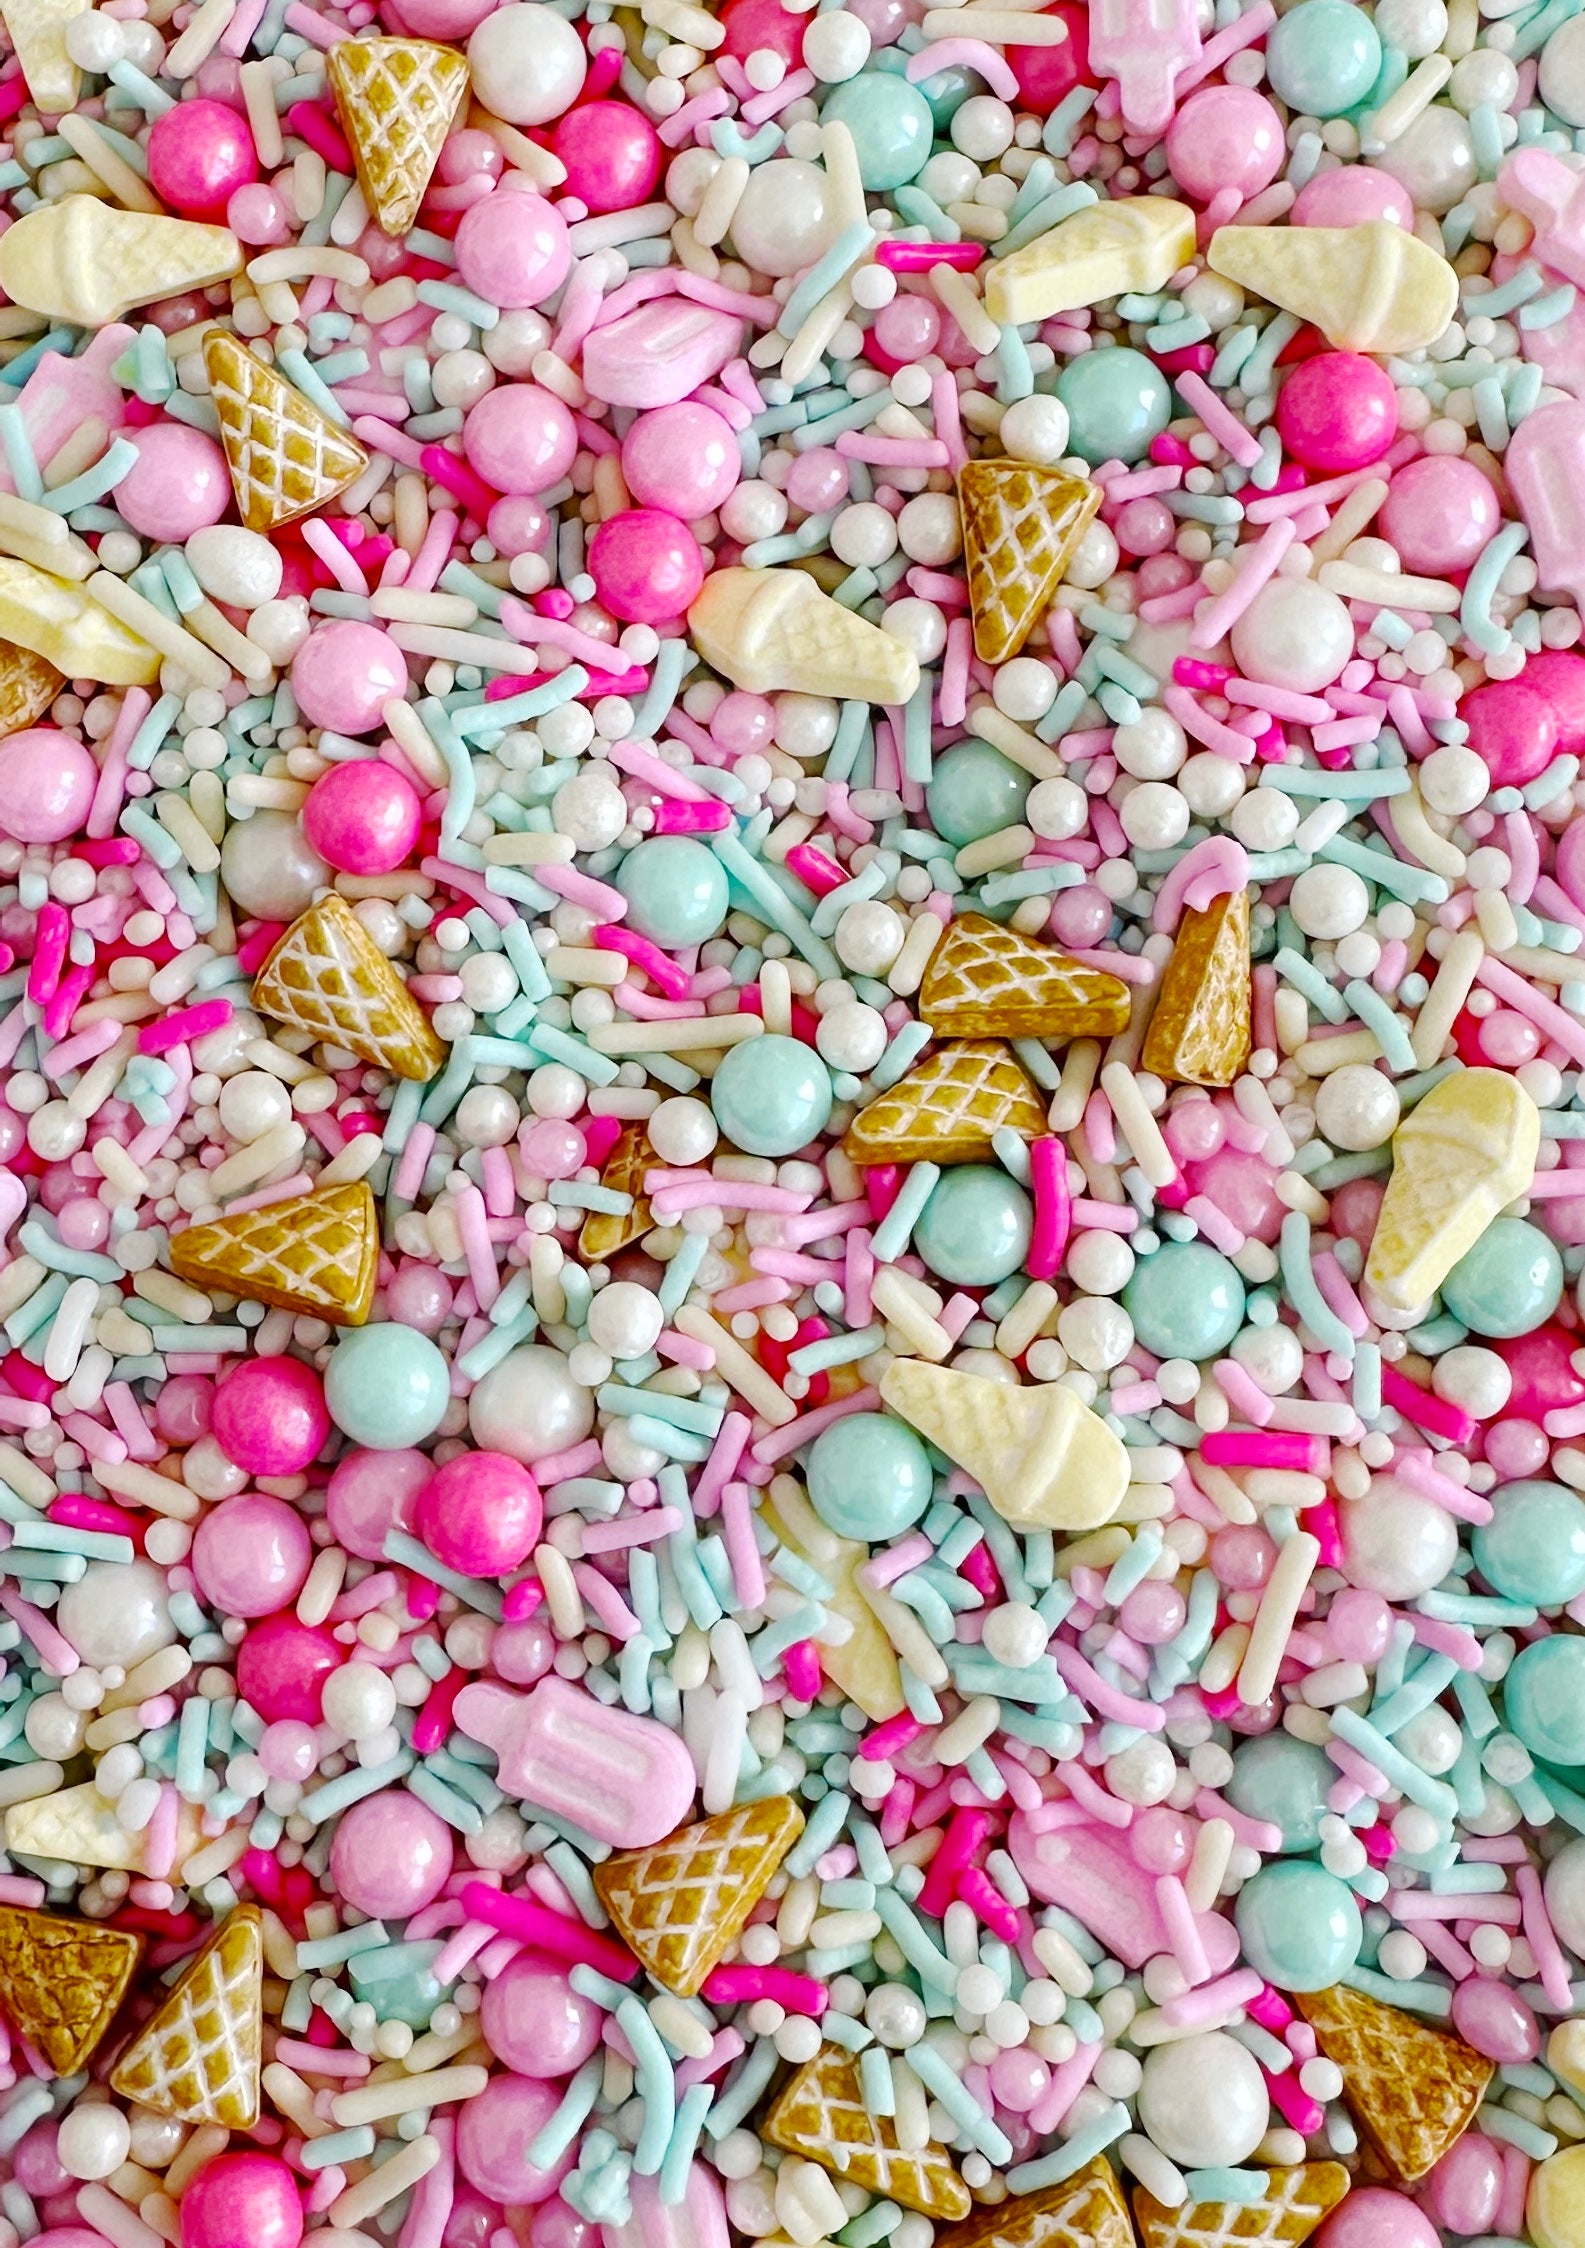
Summer Sprinkles have arrived!
SWEET SUMMER BLISS!
Introducing our all-new summer sprinkle collection, brimming with vibrant colours and delightful summery candy shapes!
Summer


sweet gifts
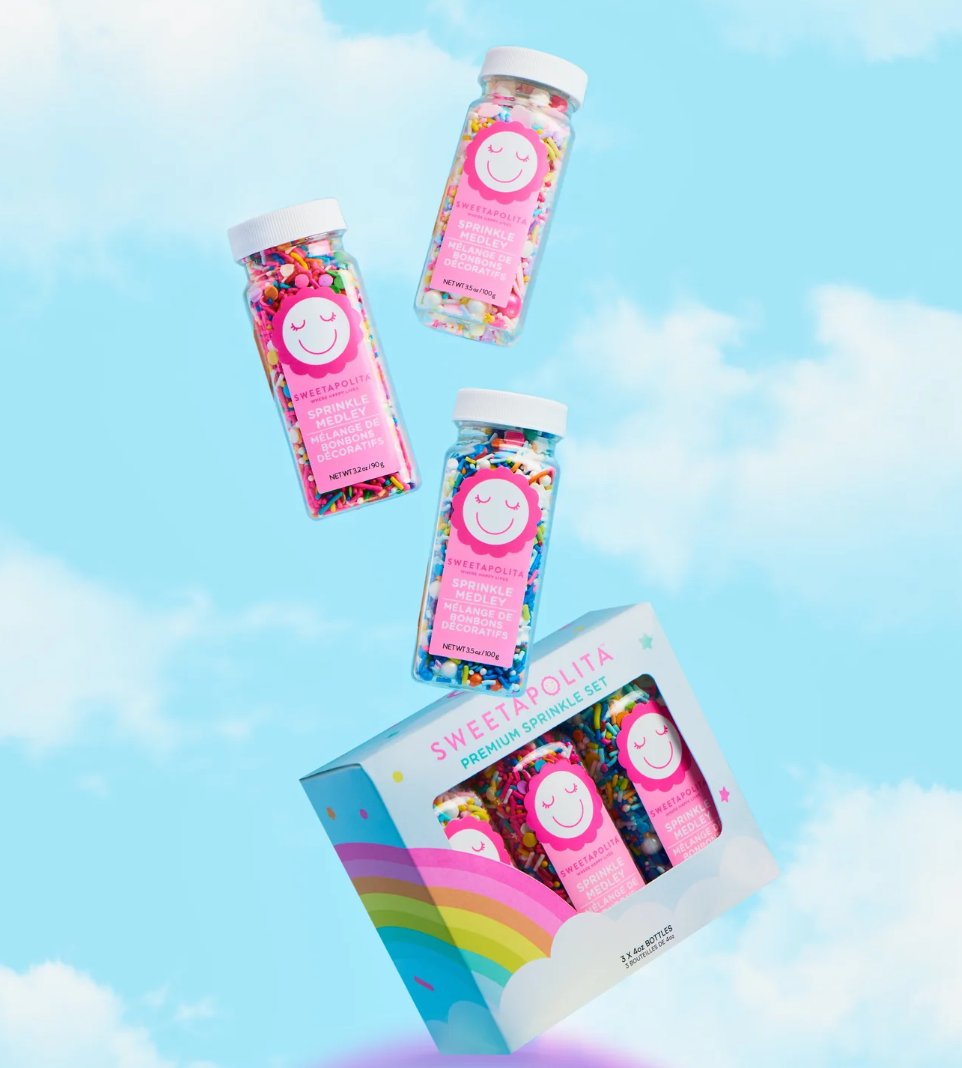
BUILD YOUR OWN EVERYDAY SPRINKLE SET
Bundle and SAVE 20% with this fully customizable set, perfect for any baker. Whether it's a gift for a friend, or yourself - choose any three 4oz bottles from our Everyday Collection for a completely personalized bundle in an adorable rainbow gift box.
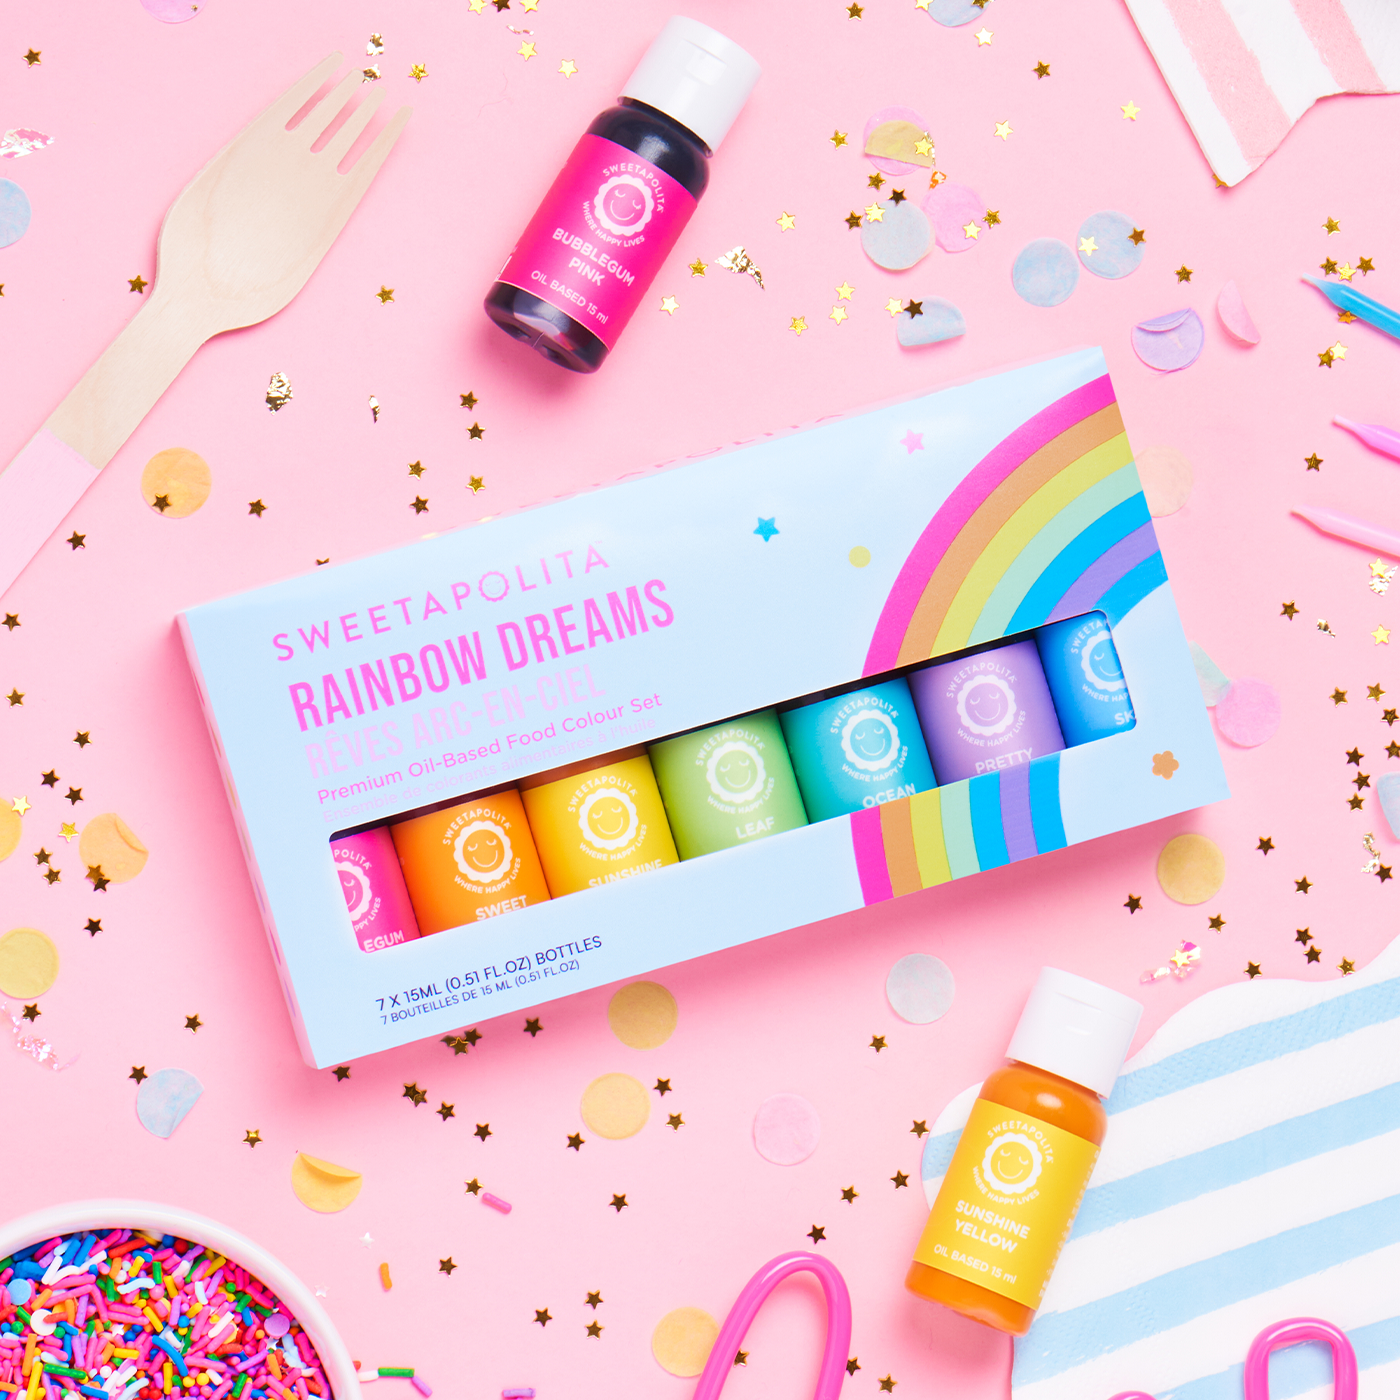
your new favourite food colour
oil based food colour
Add rich and vibrant colour to your creations using these professional grade, premium oil based food colours, and watch the magic begin!

Build a Sprinkle Sampler!
Create your own sprinkle sampler! Select your favourite sprinkles to create a 6-pack of our 2oz bottles filled with all kinds of happy.
About Us
Sweetapolita is a Canadian, women-owned premium and playful baking brand, founded by baker Rosie Alyea in her kitchen in 2015. With a primary focus on the magical world of sprinkles, our mission is to inspire food lovers and bakers of all levels, offering them the tools to make dessert-making as approachable and limitless as possible.